With Easter coming up coupled with lots of extra time at home there has never been a better time for a good old treasure hunt.
The QR Code Treasure Hunt Begins
I figured it would be fun to have a little treasure hunt with a modern twist and add a little more challenge than simply looking for chocolate in random places.
So why not make them work for their treats!
You Will Need
- Treasure Hunters – locate some keen participants (bribery is acceptable)
- Android / Apple device with QR Code reading software
- Printer
- Raspberry Pi / Ability to run Python / QR Code Online Generator (or use the example QR Codes)
- Ideas for questions/answers
- Most importantly a prize for the end!
Introducing my QR Treasure Hunt!
The concept is quite simple, for my example quiz I am using Characters and Films/TV but you could use anything you like (dare I say it you could even make it “educational”).
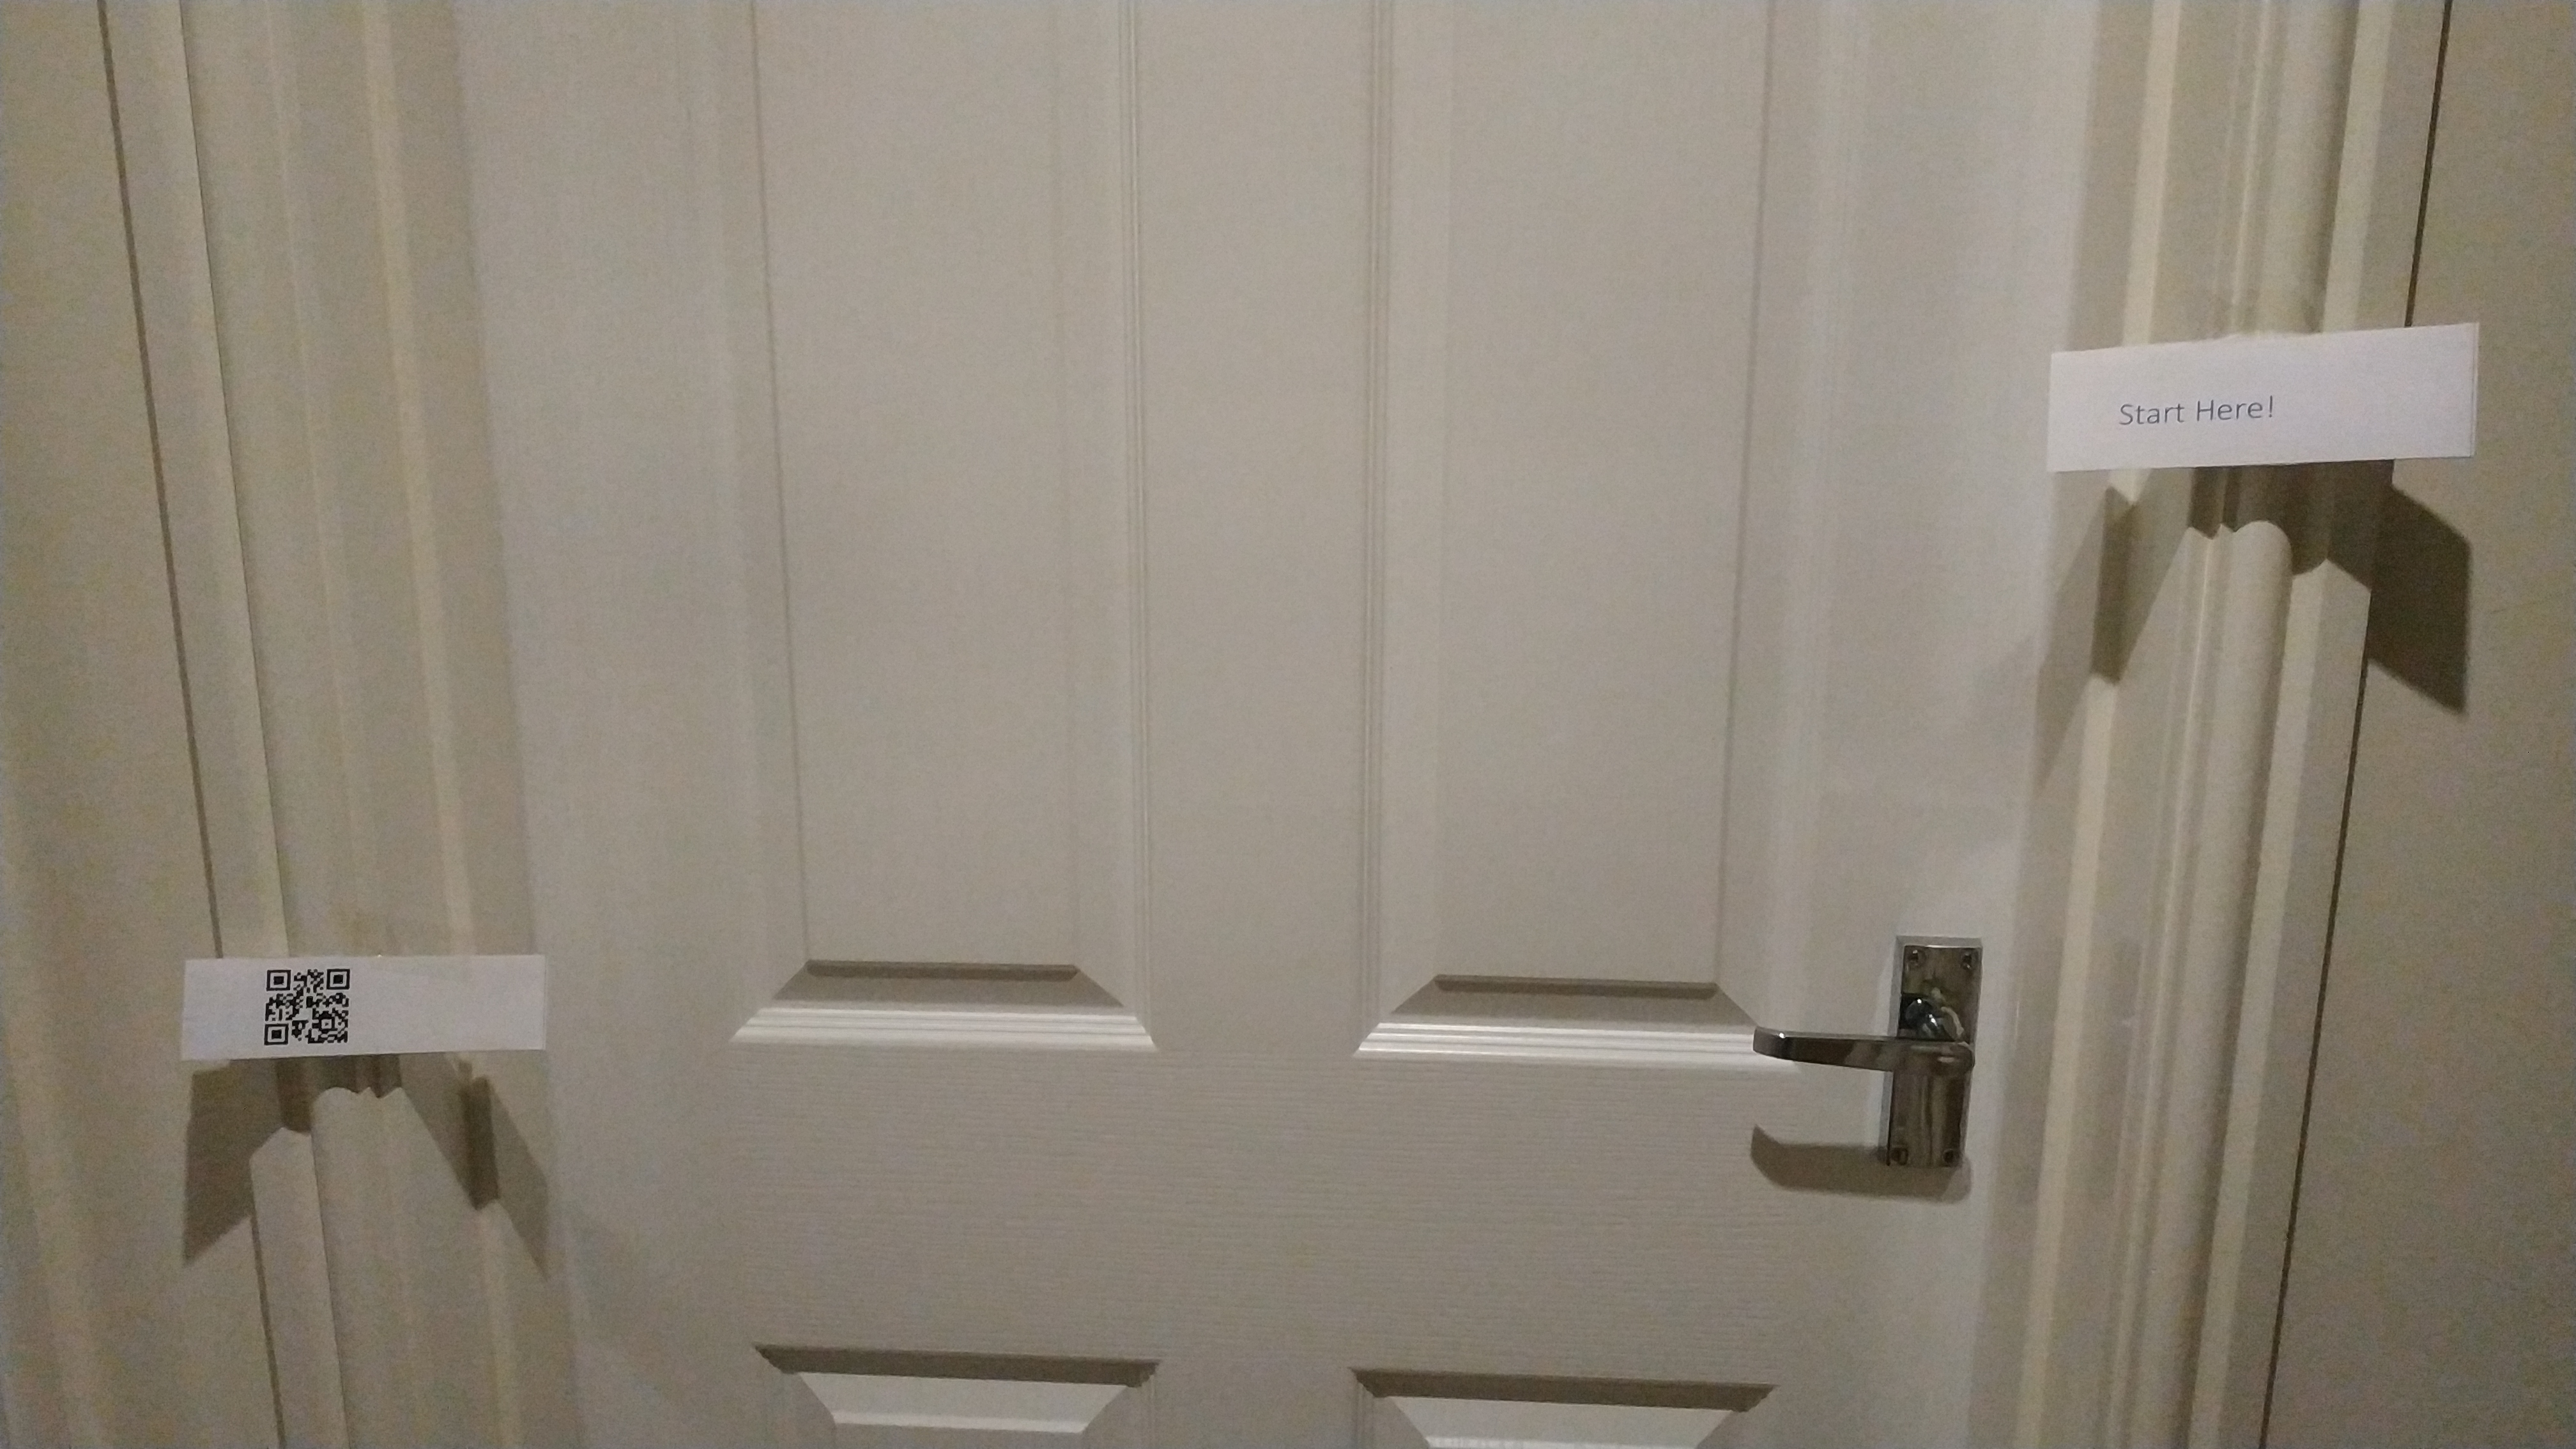
At the start of the hunt, my little hunters will need to find the first clue, marked “Start Here!”. On the back of this clue they will find a QR code (see later on how to generate these easily using Python code).

First clue for the treasure hunt, find the film which features a character called “Albus Dumbledore”
The hunters will need to scan the QR code, in this case the code will say “Albus Dumbledore”. Now they will need to find the next clue which will be marked with the name of the film (the black QR code) this particular character (blue QR code) is from.
… Any guesses?

1st Answer (on left) – Harry Potter”, 2nd Clue (on right) – find the film which features characters called “Oompa-Loompas”
Even if you did know the answer, remember the hunters would need to check all the other QR Codes until they find the correct one. They then move on to the next clue (which will be another character to match with the next film).
Finally, when the hunters have followed all the clues, you can put on the back of the last one the final location of the treasure (alternatively, point them back to clue one and see how long it takes for them to notice that they are going around in circles… 😉 ).
Variations
You can adjust the treasure hunt to be as easy or as difficult as you like, choosing obvious or difficult answers, or perhaps adding extra clues (and award points if the hunters do not need them). Also, the more questions you have, the more running around the hunters will need to do to check each one (and the harder it will be to remember where each answer is).
Creating the treasure hunt
First you will need to think up your questions and answers, picking a common theme will help since ideally the answers shouldn’t be too difficult but should suit for any question (the challenge will be working out which answer fits with each question). It also helps to keep them small, as you will see, the size of the QR Code is proportional to the amount of text (so 40-50 characters at most)*.
*The maximum is over 4000 characters but that may make for a lengthy treasure hunt with very large QR Codes.
Example Questions/Answers
#  CHARACTER                             FILM
0  Albus Dumbledore                      Harry Potter
1  Elsa & Anna                                Frozen
2  Belle, Gaston, Mrs Potts            Beauty and the Beast
3  Rapunzel                                    Tangled
4  Han Solo, Luke Skywalker          Star Wars
5  Flopsy, Mopsy, Cottontail            Peter Rabbit
6  Baloo, Bagheera, Shere Khan    The Jungle Book
Creating the QR Codes
Next we will generate the QR-Codes, there are a few ways to do this, so pick whichever suits you best. I can only vouch for the Raspberry Pi solution, which is the method I used.
NOTE – I’ve also included a copy of the QR Codes from the above example questions and answers, so you can try it out if you want to.
Raspberry Pi – Python Code
If you can, a little python code on a Raspberry Pi will work very nicely. The following code requires pyqrcode to be installed (see the PyQRCode documentation for details).
sudo apt-get install python3-pyqrcode
Create the following python script, named genQRquiz.py:
#!/usr/bin/python3
''' genQRquiz.py '''
import pyqrcode

quiz={
    "Albus Dumbledore":"Harry Potter",
    "Elsa & Anna":"Frozen",
    "Belle, Gaston, Mrs Potts":"Beauty and the Beast",
    "Rapunzel":"Tangled",
    "Han Solo, Luke Skywalker":"Star Wars",
    "Flopsy, Mopsy, Cottontail":"Peter Rabbit",
    "Baloo, Bagheera, Shere Khan":"The Jungle Book"
  }

print("Generate QR-Codes")
for i,item in enumerate(quiz):
  print(f'{item} -> {quiz[item]}')
  qr_code_q = pyqrcode.create(item)
  qr_code_q.png(f'{i:02}.png',
                scale=5, module_color=(128,128,255))
  qr_code_ans = pyqrcode.create(quiz[item])
  qr_code_ans.png(f'{i:02}-ans.png', scale=5)
print("Completed")
Run the script using the following command:
python3 genQRquiz.py
This will create the QR codes as png files, called 00.png, 00-ans.png, 01.png, 01-ans.png etc. for each question (blue QR Code) and answer (black QR Code).
Using an online QR Code generator
NOTE – I have not tested or verified this web-page, so please use your own judgement as to whether it is safe and suitable for your needs.
QRCode-monkey.com
You’ll need to generate QR Codes for each question and answer.
Using an Android App to generate codes
NOTE – I have not tested or verified these apps, so please use your own judgement as to whether it is safe and suitable for your needs.
QR Droid Private from DroidLa
QR Code Generator from YKART
You’ll need to generate QR Codes for each question and answer. Also you will need a QR Reader app for the hunters to use, so you can use this app later if required.
Using an iPhone/iPad to generate codes
NOTE – I have not tested or verified this app, so please use your own judgement as to whether it is safe and suitable for your needs.
Qrafter – QR Code Reader (QR Code Reader and Generator) from Kerem Erkan
You’ll need to generate QR Codes for each question and answer.
Creating your QR Treasure Hunt Clues
We can create our clues using the QR Codes as follows:
Start Here!       |       00.png
--------------------------------
00-ans.png        |       01.png
--------------------------------
01-ans.png        |       02.png
etc.
--------------------------------
06-ans.png        |       End!
Insert the QR Codes into a document file and print.
Our example clues…
-
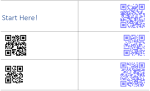
-
Quiz Clue Set 1/3
-
-
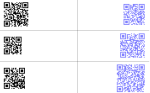
Quiz Clue Set 2/3
-

-
Quiz Clue Set 3/3
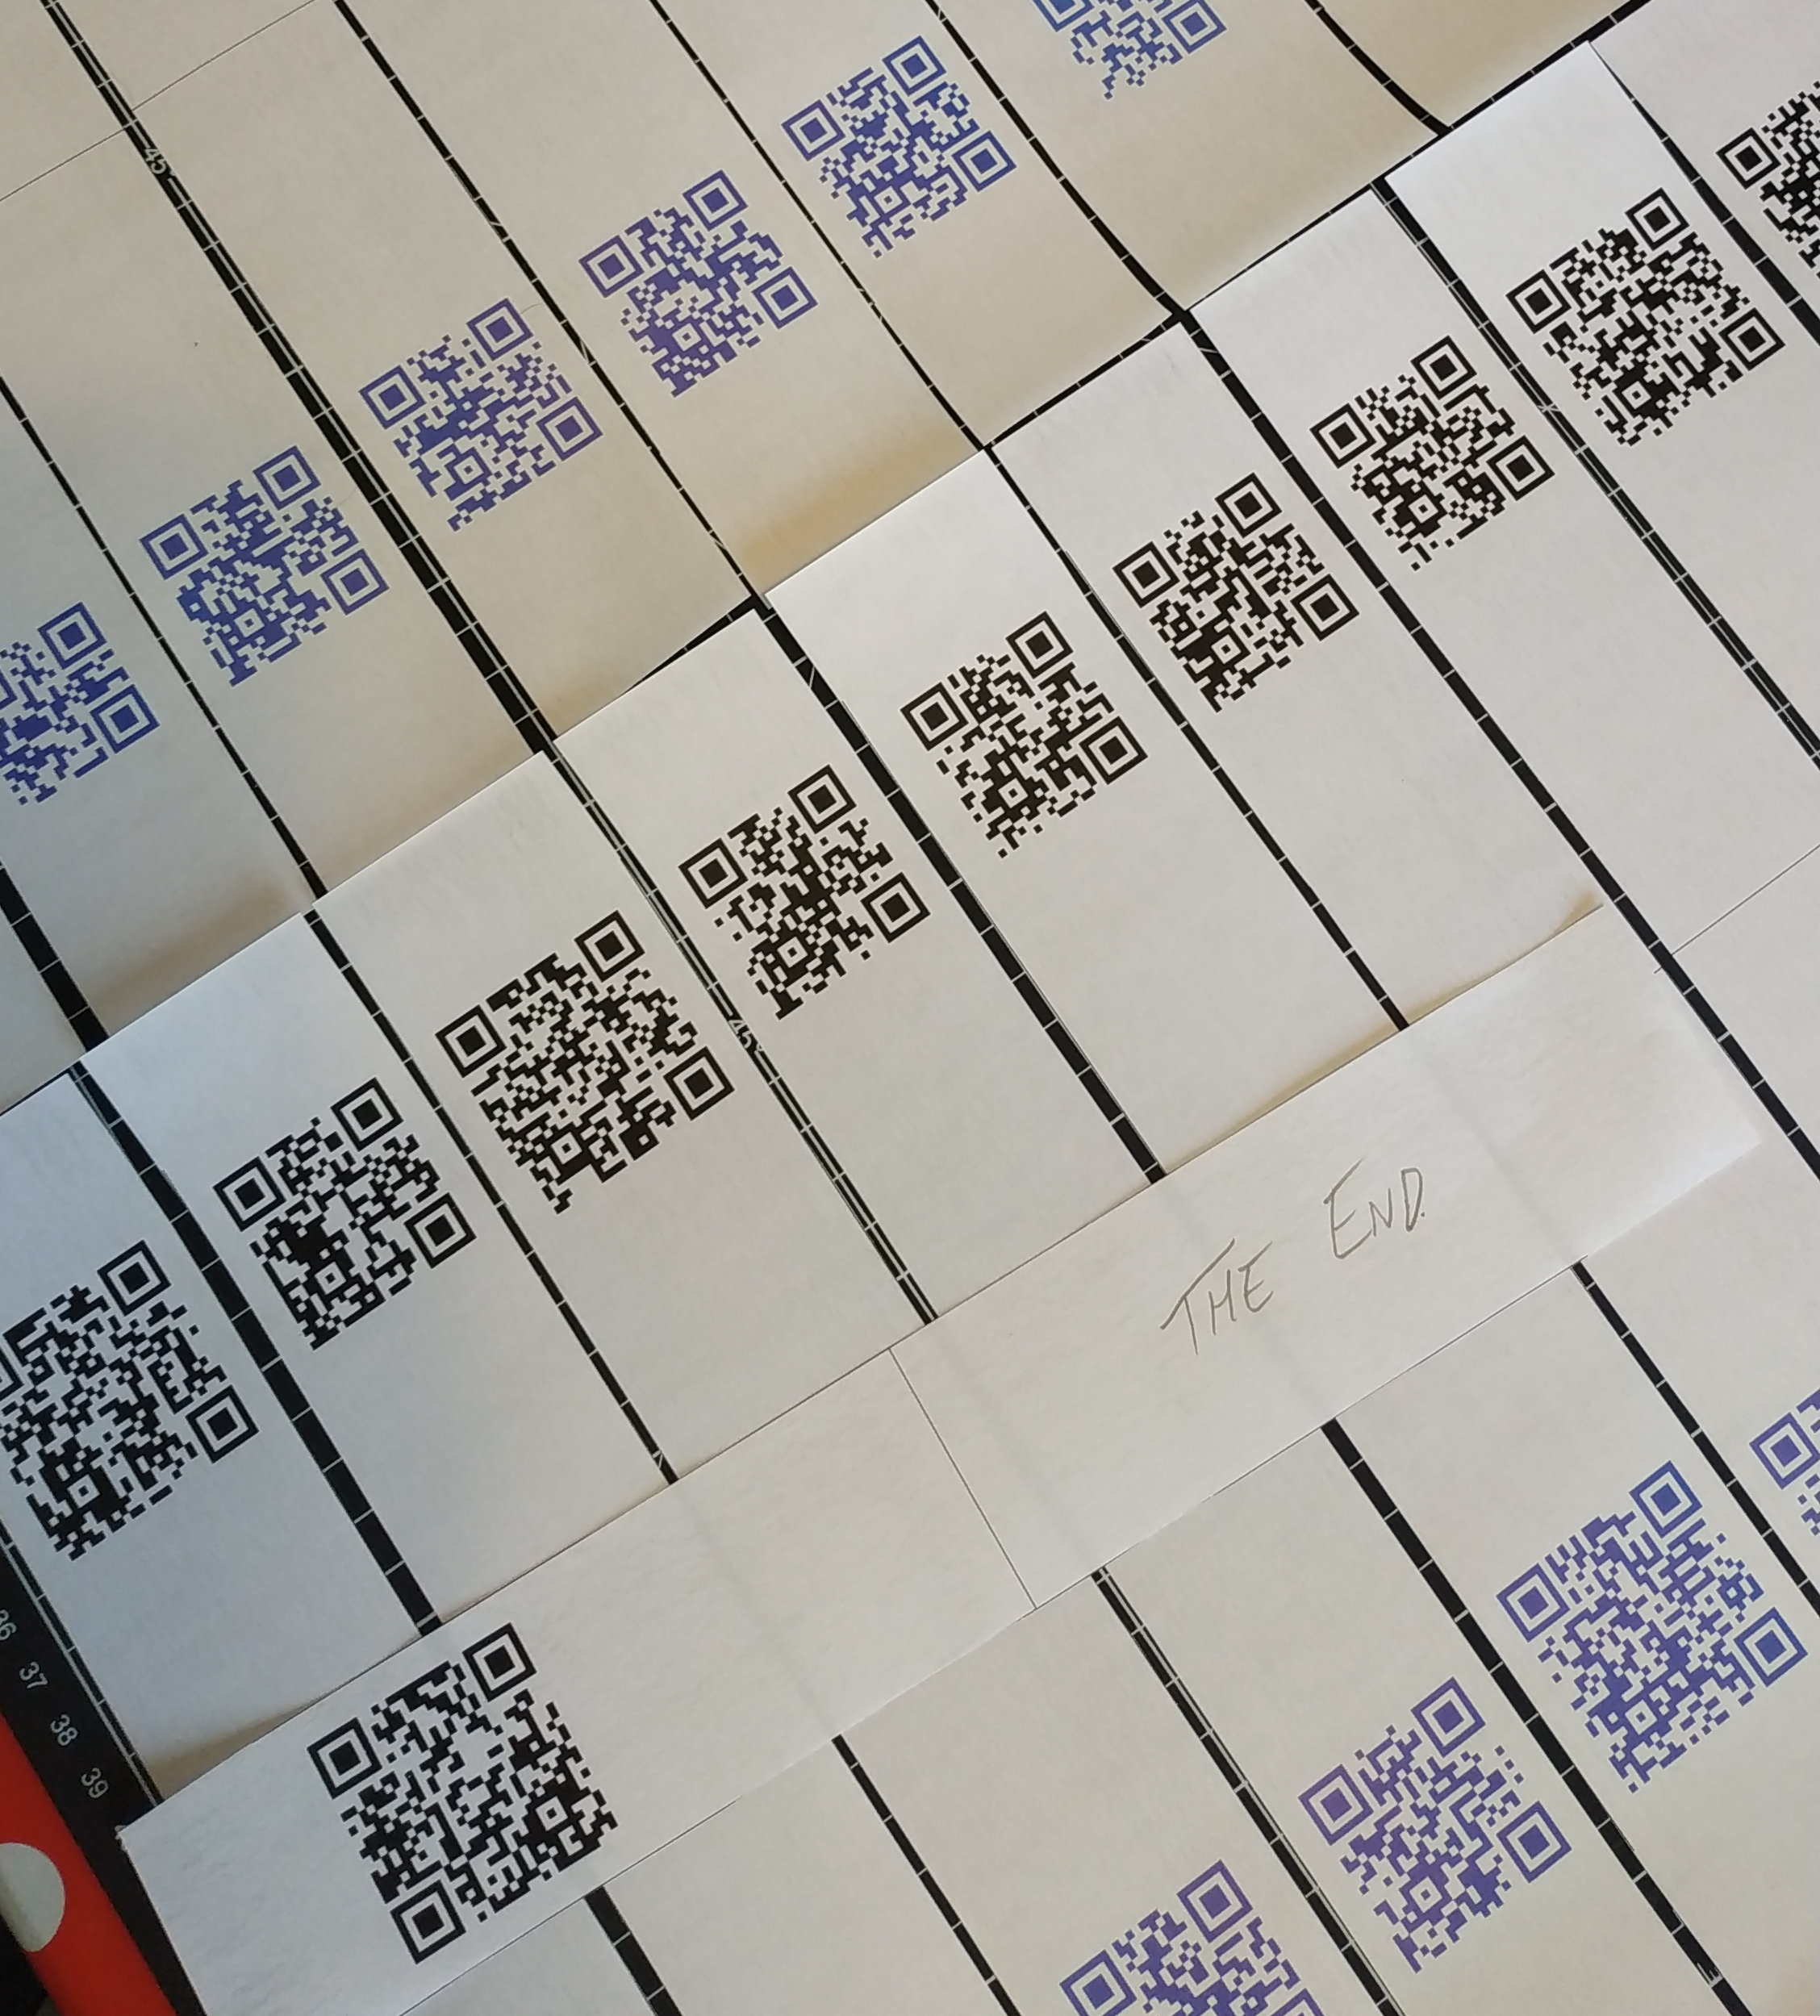
Cut the clues into strips and fold them in half, answers (black QR Code) on the front and the following question (blue QR Code) on the back. Next, stick the clues around the house/garden etc. for the hunters to discover.
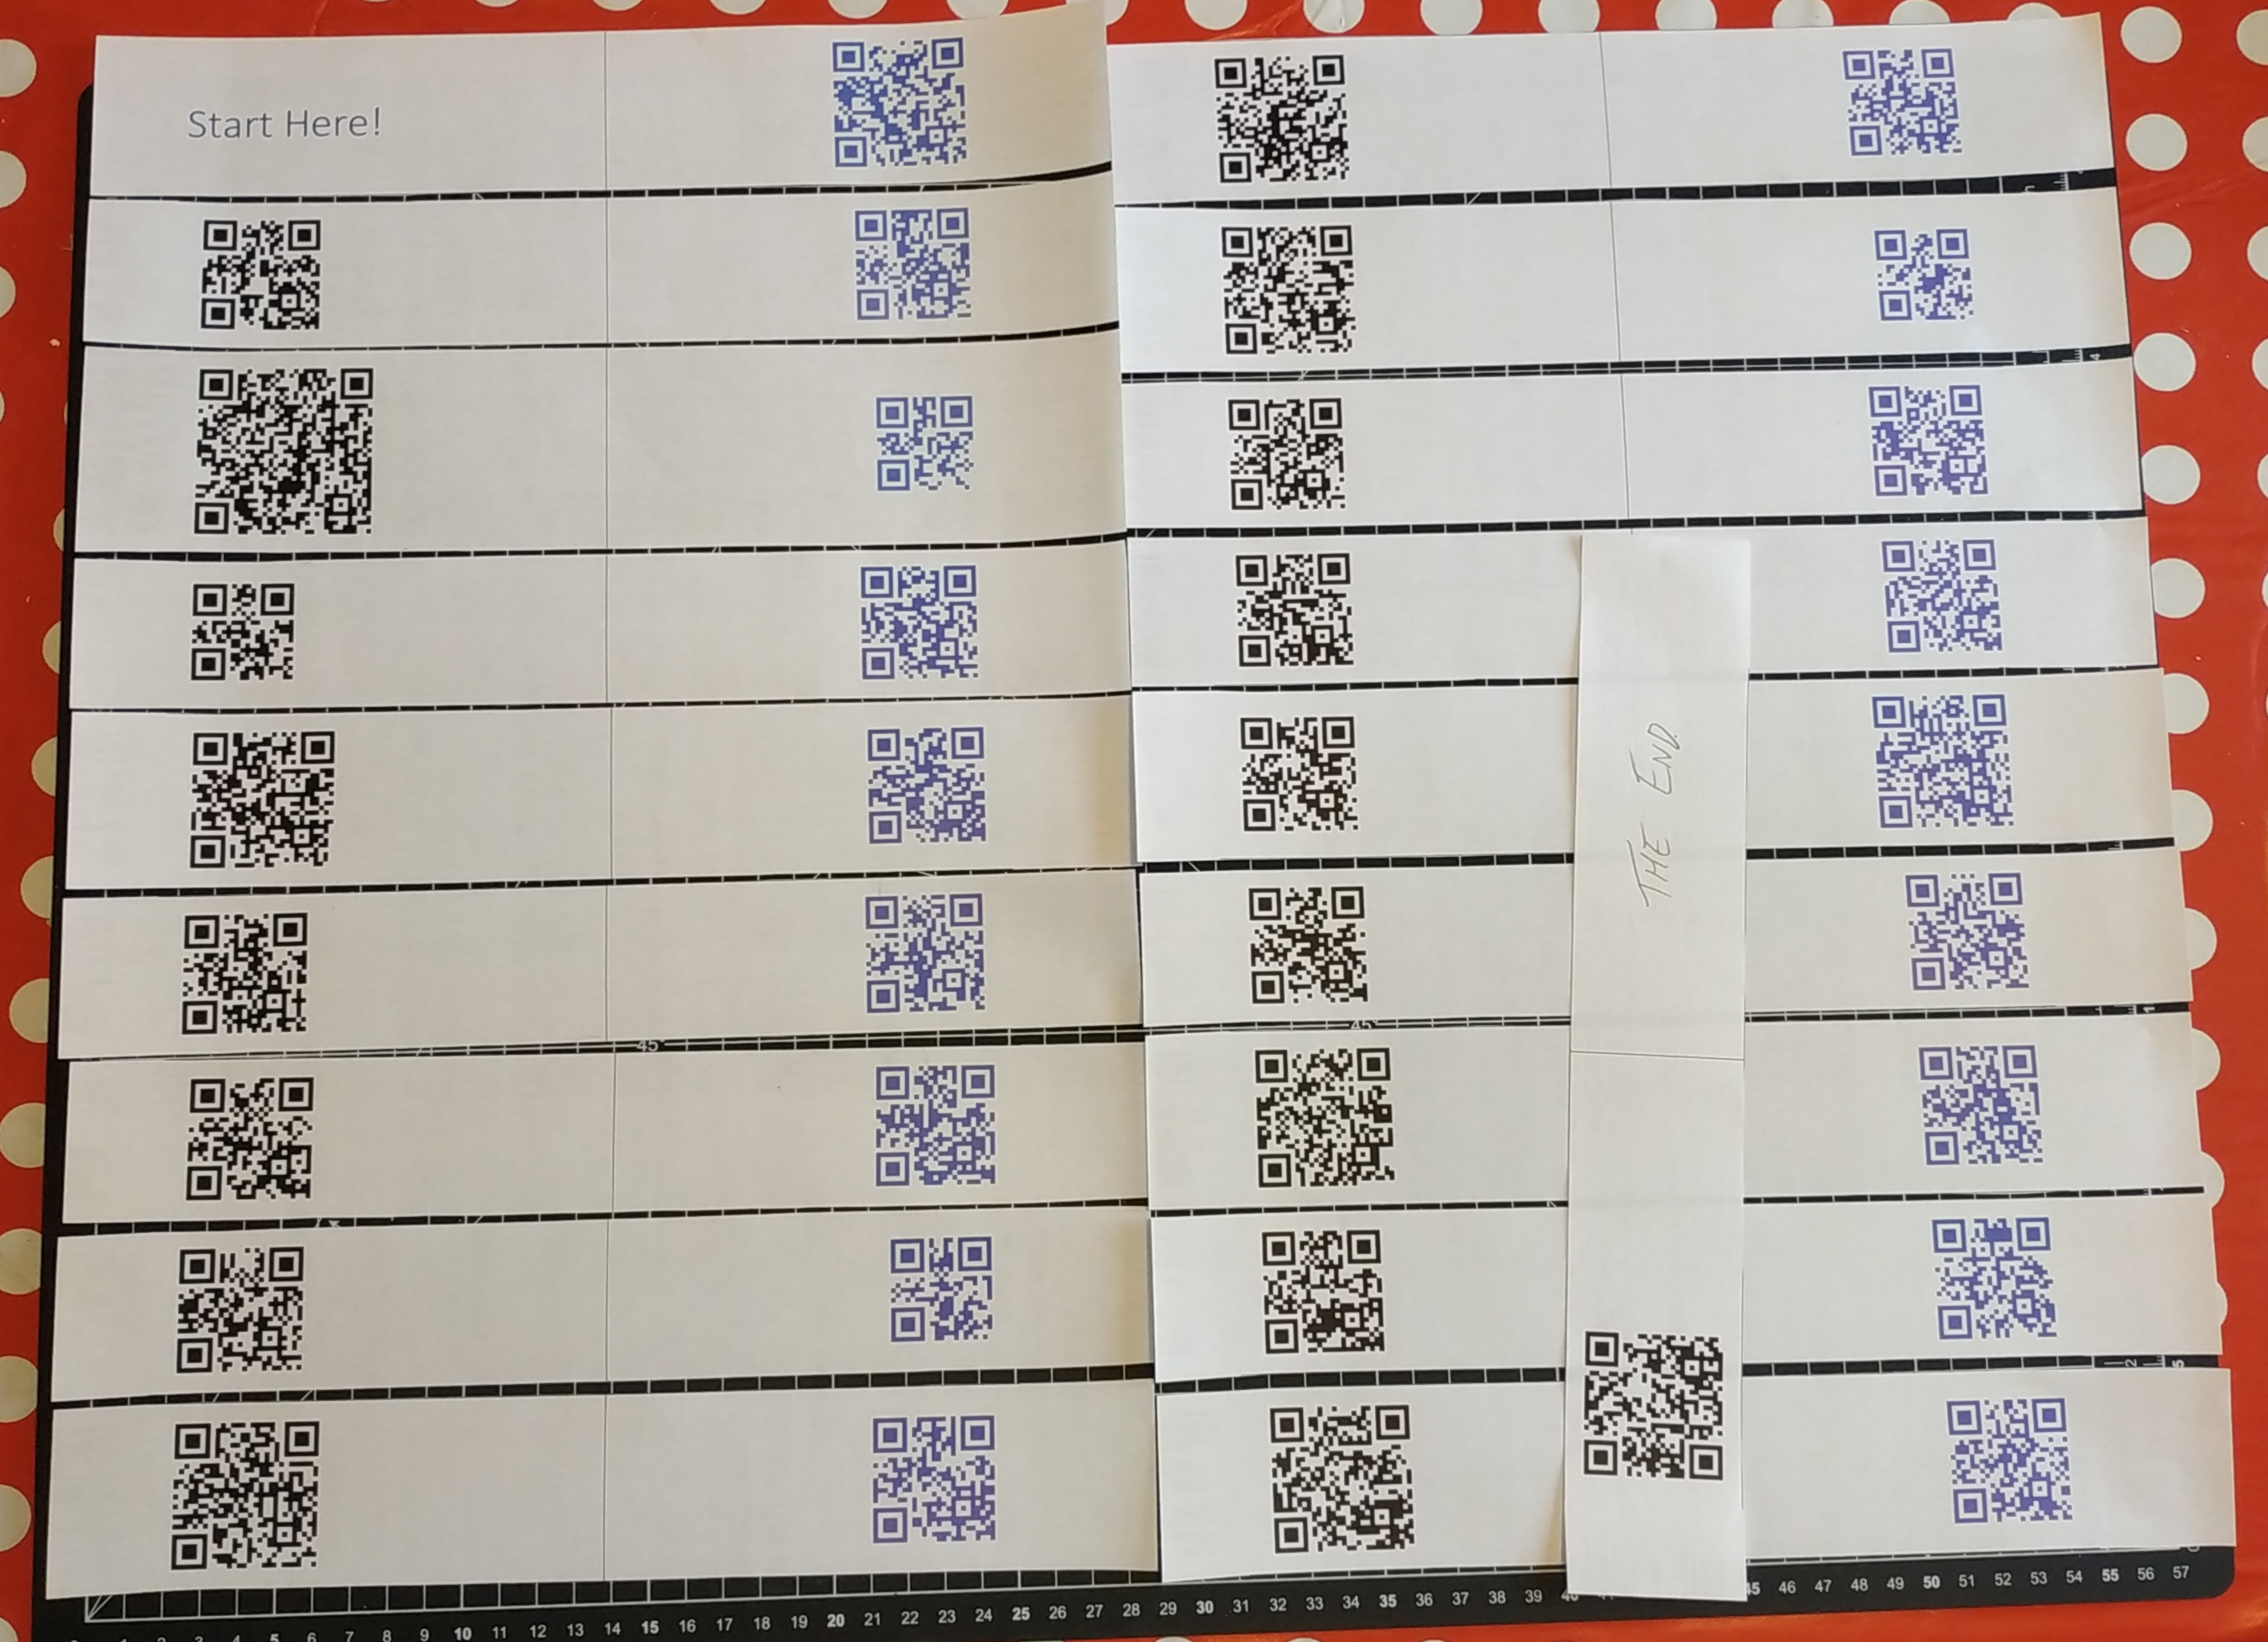
Our family QR Code Treasure Hunt, ready to go!
Get QR Code Readers Ready
You’ll need to have QR Code Reading device. You can use either use one of the above QR Code generator apps above (they will also read QR Codes) or install a dedicated QR Code reader.
Make sure your treasure hunters are fully trained on how to use the QR Code Reader and understand what they will need to do before they start.
Android QR Code Reader
NOTE – I have not tested or verified these apps, so please use your own judgement as to whether it is safe and suitable for your needs.
– It is fast and simple, although this doesn’t include 3rd Party adverts, it has extensive terms and conditions and will pop-up with adverts for their password manager.
Or use one of the QR Code generator apps previously mentioned.
[Better free alternatives are welcome suggestions in the comments]
iOS QR Code Reader
I believe there is one built into the iOS camera app.
On Your Marks, Get Set…Go!
Now all that remains is to place all the clues everywhere and release the hunters!
QR Code Treasure Hunt
Let me know how you got on and if you have any improvements/suggestions.