So you were lucky enough to receive a Raspberry Pi for Christmas or perhaps you’ve had one a while and wasn’t too sure what to do with it then read on for some tips on how you can do more with this wonderful little computer.
1. Add a Wifi Adaptor
Even if your Raspberry Pi is a model B or B+ (which has a built in network connection) going wireless can have many advantages.
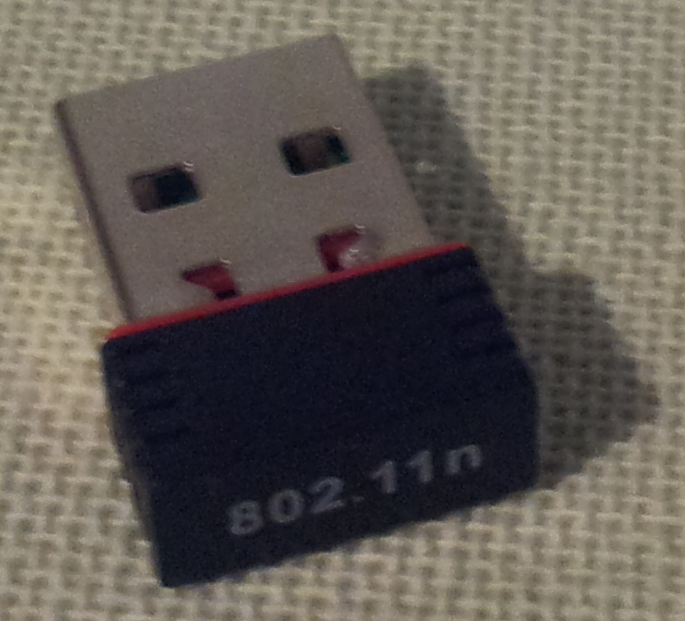
RaLink Wifi Adaptor
Not only does it make it easier to setup your Raspberry Pi in a location which is convenient for you (you don’t need to be next to a network socket or your router) but it means if you are using your Raspberry Pi remotely i.e. without a screen (see my Guide to Remote Connections) you just need to add power to run.

A Wifi adaptor will require some additional configuration, so be prepared to set it up before you use it (also be warned that you must plug in the Wifi dongle before you power up the Raspberry Pi – particularly for the older models – otherwise it will cause the Raspberry Pi to reboot).
The Pi-Kitchen can help greatly with the Wifi setup and can allow you to configure everything up front so when you install via NOOBS it will work immediately!
Although remember, if you are using an older model B or a model A (or A+) adding a USB Wifi dongle will take up a USB socket, so you may be limited to using either a mouse or a keyboard (or neither on a model A/A+). However there are ways around this limitation too:
- Use a USB hub (ideally a powered one)
- Use a wireless keyboard and mouse set since they typically have a single USB wireless RF dongle for both
- You can also use a bluetooth keyboard/mouse – but remember you will need to configure these with the Raspberry Pi before you can use them.
- There are also keyboards which have a trackpad built-in (in place of the number pad), these use a single USB connection so are rather handy for the Raspberry Pi.

2. Get a dedicated screen

Generally if you are planning on using the Raspberry Pi with your kids, then having a dedicated screen you can setup specifically for their use is by far the best solution. Don’t forget that the whole idea of having a cheap computer is so that kids can experiment freely with it without worrying about causing damage to expensive parts or hogging the use of the family computer/TV.
TIP: For particularly young kids it can even help to have a 2nd setup for you to use, that way you can go through the same steps as them and if they get stuck demonstrate the answer. By having a 2nd setup (even if you use a laptop and remote connection) you avoid the temptation to take hold of the mouse or keyboard and do it for them: you can show them and they can copy. That way the sense of achievement is far greater as everything they do has been totally their own work.
When the Raspberry Pi was first released HDMI to VGA adaptors were rather expensive, bulky and often required external power. This typically meant the best option was to find a screen which supported HDMI (such as a digital TV) and use that.
HDMI to VGA Adaptors:

However these adaptors are now relatively cheap (£8 or less) very compact and will run directly from the Raspberry Pi. These low cost adaptors are ideal if you have a spare screen available or an old computer, as HDMI compatible monitors are still quite expensive and it probably overkill to run a £30 computer with. You may even find that your IT department or a local company will have unwanted VGA monitors or screens available, as newer PCs no longer support analogue connections they will still be ideal for the Raspberry Pi.
You may need to use slightly different settings with these adaptors, the config.txt file controls these settings (initially you can use hdmi_safe=1 to check everything is working).
disable_overscan=0
hdmi_drive=2
config_hdmi_boost=4
For more details see config.txt file.
DVI to VGA Adaptors:

If you have a screen which supports DVI-D even better, as HDMI to DVI-D adaptors are around £2 at most and generally will result in a better signal (by remaining as a digital output).
Also remember if you use an adaptor for the HDMI output to convert to DVI-D or VGA audio will not be provided by the monitor so you may need additional speakers for sound (or a suitable cable if your screen has built-in speakers).
Again, there are a few other alternatives for display output:
Analogue Output:
The Raspberry Pi does have an analogue output (which can connect to older TVs though composite and SCART connections) but for most situations the display is low resolution and hard to see. I would not recommend this method for general use except as a fall back when configuring things. When using the Raspbian desktop you find that most programs will not physically fit on the screen making it impossible to click dialogue items or use them effectively.
Gert VGA Adaptor:

The Gert VGA adaptor board is available from PiSupply (click on image to go to the shop).
This little board plugs (designed by the Raspberry Pi foundation’s Gert-van-Loo) directly onto the newer Model A+ or B+ Raspberry Pi GPIO header and allows you to drive a VGA monitor directly from the Raspberry Pi itself. This allows you to connect directly to a VGA screen and also supports a 2nd display (via HDMI for example). However it does use up most of the GPIO pins (4 are left over which can still used for hardware).
Note: If you have an older Raspberry Pi model (Model A or Model B) then this adaptor will not work (it required the newer 40 pin GPIO connection).
Use Remote Connections:
By using VNC, X11-Forwarding or SSH you don’t even need to have a screen (see my Guide to Remote Connections).
However, it is always helpful to have a screen available for those times when there is a problem connecting to the Raspberry Pi and you need to trouble-shoot the issue (you will fix your problem much quicker if you can see what is happening).
Generally if you are planning on using the Raspberry Pi with your kids, then having a dedicated screen you can setup specifically for their use is by far the best solution. Don’t forget that the whole idea of having a cheap computer is so that kids can experiment freely with it without worrying about causing damage to expensive parts or hogging the use of the family TV/computer.
TIP: For particularly young kids it can even help to have a 2nd setup for you to use, that way you can go through the same steps as them and if they get stuck demonstrate the answer. By having a 2nd setup (even if you use a laptop and remote connection) you avoid the temptation to take hold of the mouse or keyboard and do it for them: you can show them and they can copy. That way there is a far greater sense of achievement as everything they do has been entirely their own work.
3. Get some educational resources!
Everyone needs to start somewhere and using some of the vast array of resources available is an excellent way to get started.
The MagPi Magazine

There are 30 issues of the MagPi available covering over 2 years of the Raspberry Pi.
This community led magazine is available for download for FREE from the MagPi website, and is a perfect resource for those starting out with the Raspberry Pi and also to get some more advanced ideas too. You can support the MagPi by purchasing printed versions of the magazine from the many retailers (see the site for details).
Raspberry Pi foundation educational resources
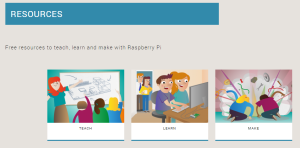
The Raspberry Pi resources are split into three sections:
Teach, Make and Learn.
The Raspberry Pi website has a whole section of resources available, a perfect place to get started and learn the basics of using the Raspberry Pi and starting your own projects.
Get a book
For those bigger projects and a more complete guide a good book makes an excellent resource. Ideally you will find that you will often find the solutions to what you need just by grabbing it off the shelf and looking the answer up (a good reference book will keep being useful long after you’ve read it once).
There are lots of great Raspberry Pi books out there, but I would like to recommend my own one as a comprehensive guide to what you can achieve with the Raspberry Pi.
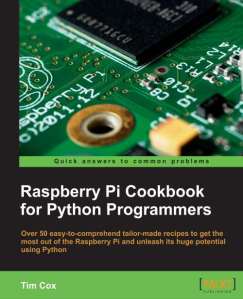
Get the most out of the Raspberry Pi and unleash its huge potential using Python.
You can read more about in the sections above on this site, and also see what other’s think by reading the excellent reviews (of which I am very thankful for) I’ve had on Amazon. The book is also available from other retailers, or direct from the Packt website.
4. Get started with hardware


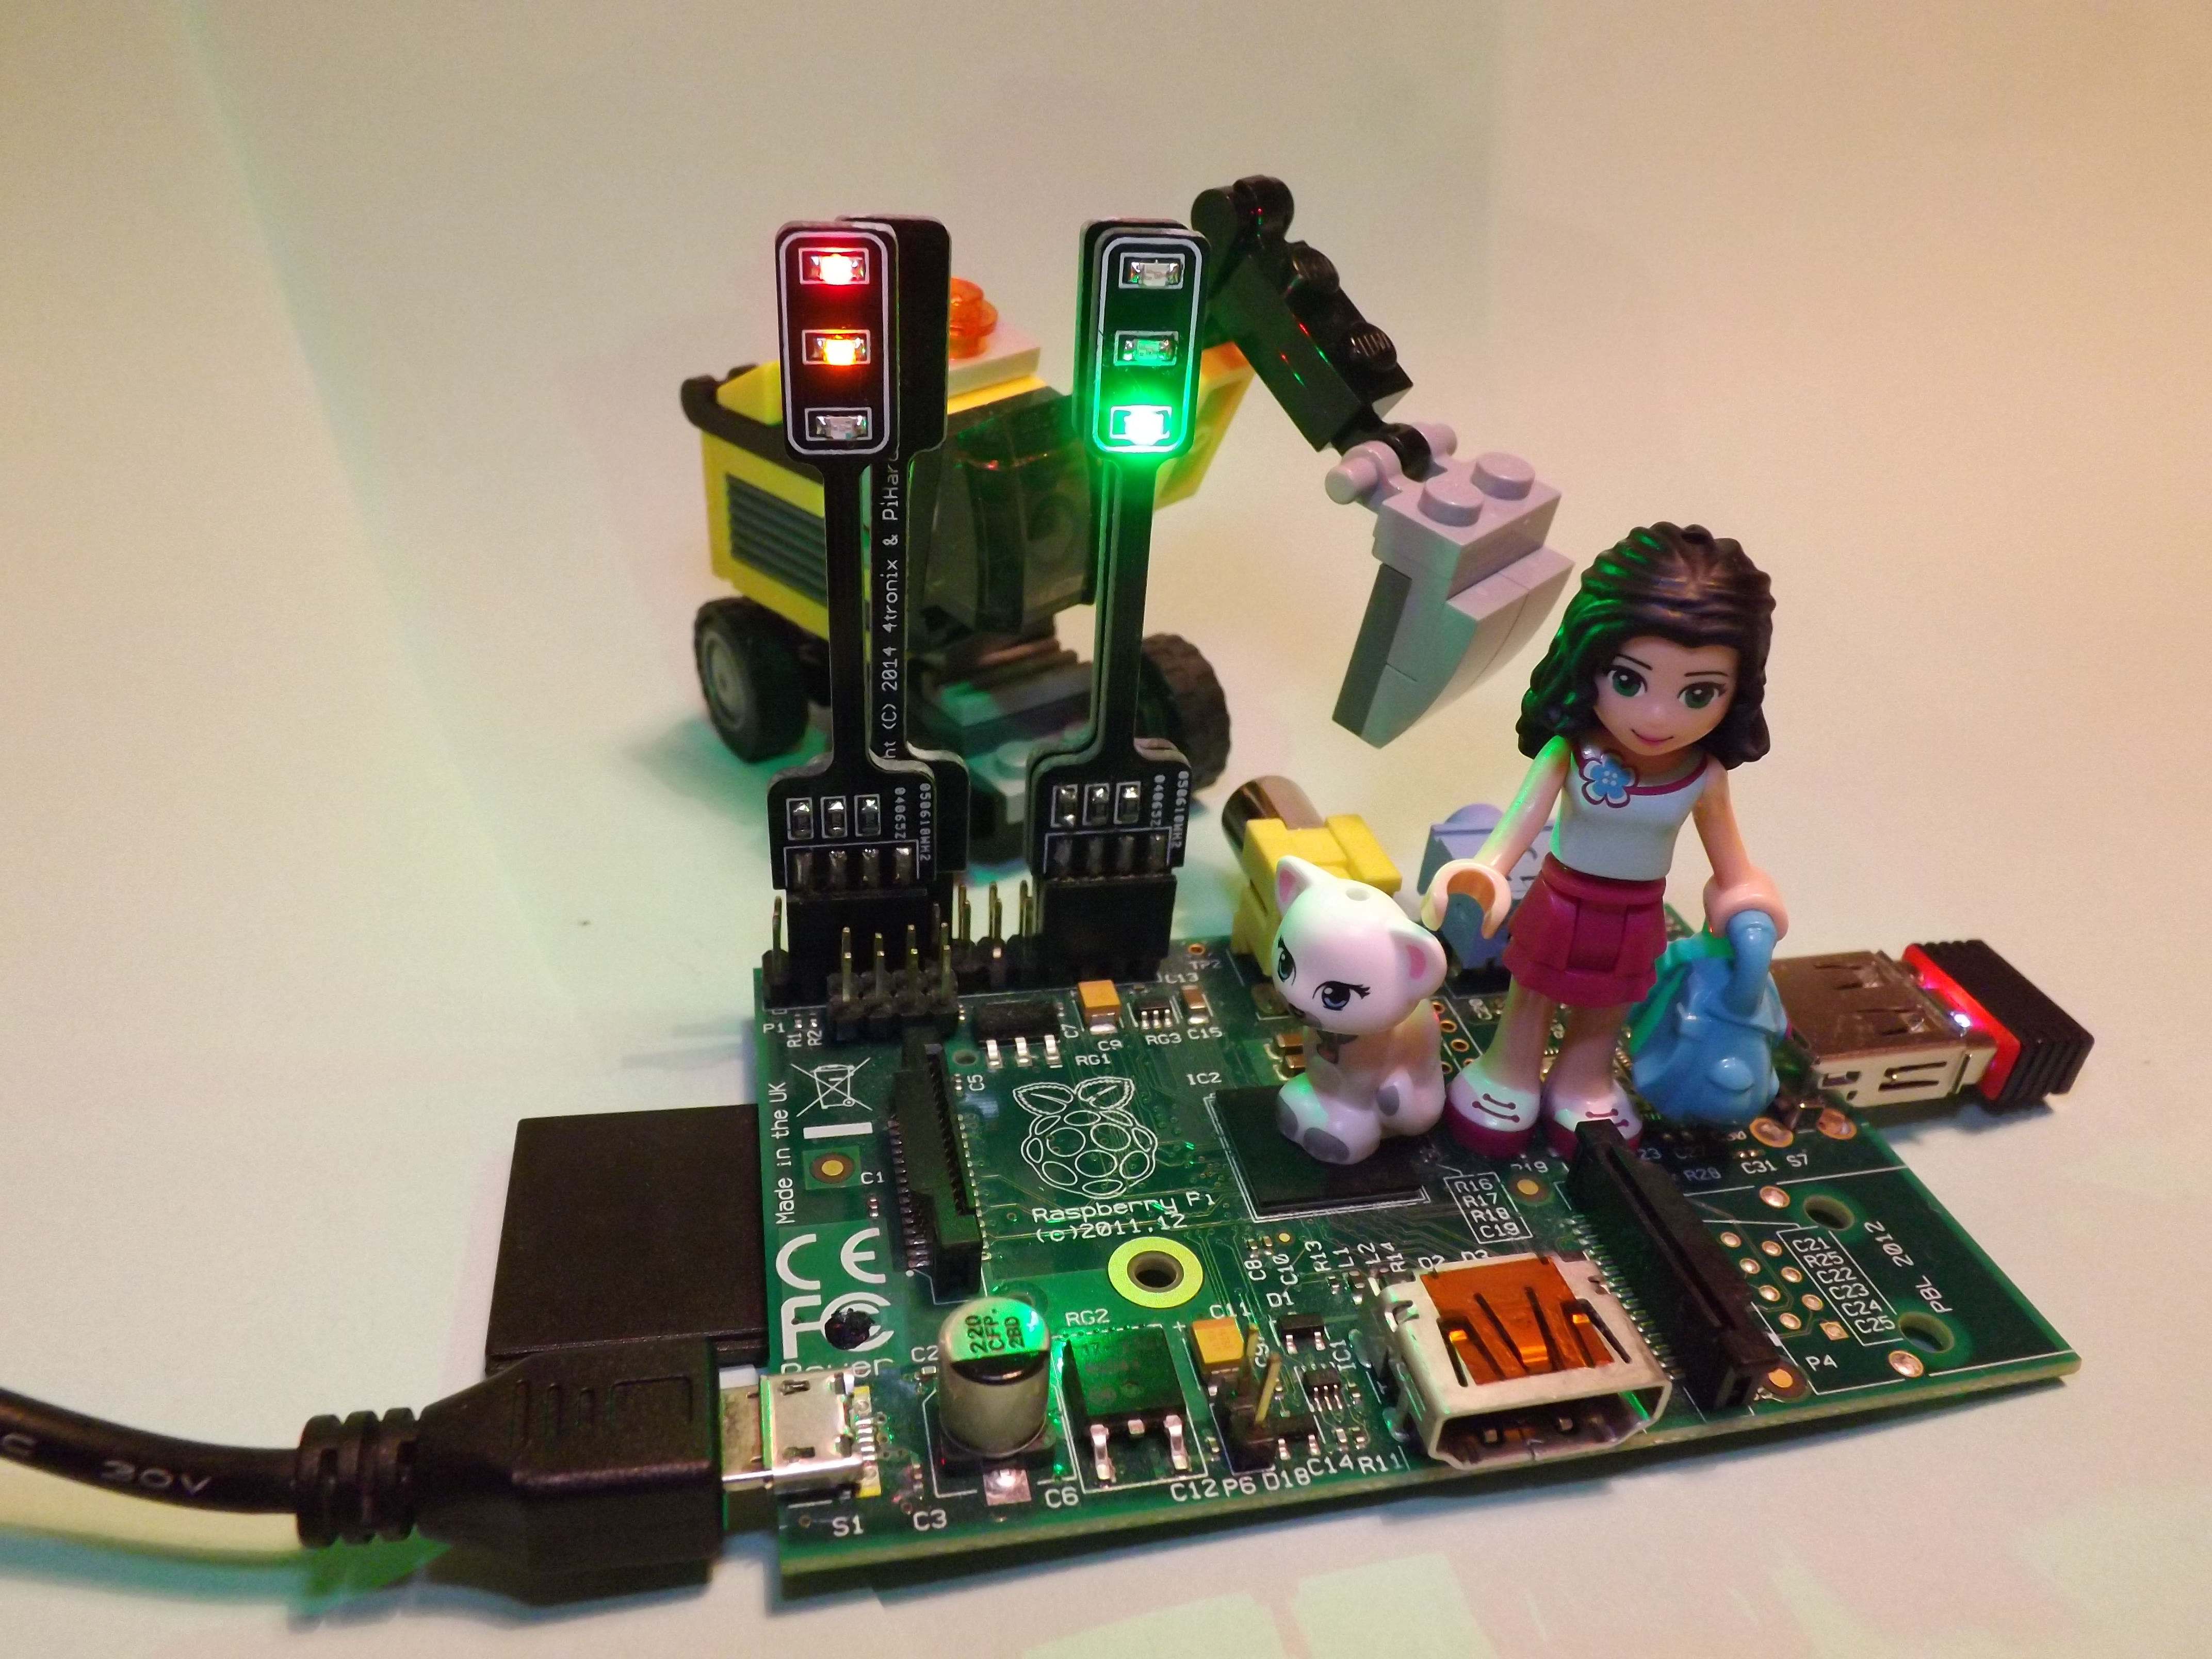
As any hardware or embedded software engineer will tell you, the first step to any project is to get some lights flashing. For kids the ability to control something which they can physically pick up and handle is a huge incentive and can make following guides and tutorials far more engaging.

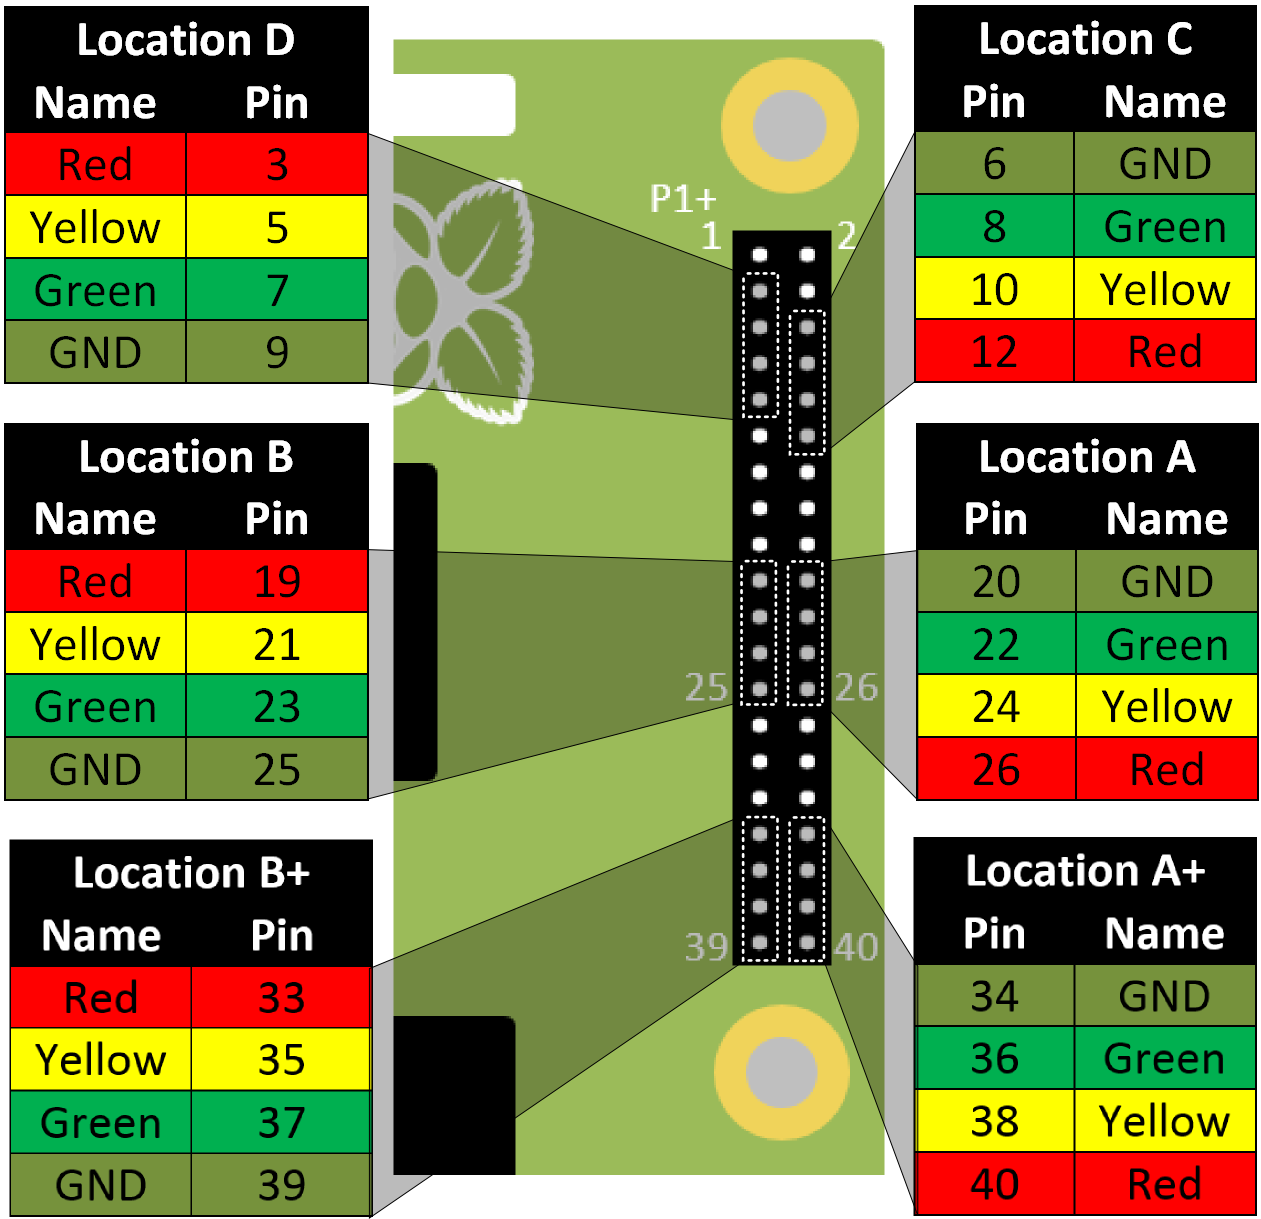
The Pi-Stop is an excellent starting point, fitting directly onto the Raspberry Pi it provides a excellent starting point for interfacing with hardware on the Raspberry Pi. There are lots of resources available to get you started and also a number of workshops and tutorials to follow.

The Pi-Stop was jointly designed by PiHardware (this site!) and 4Tronix as a low-cost and easy to use add-on for workshops and home use. Of course once you’ve got used to controlling hardware they are excellent for debugging and indicating different operations while the Raspberry Pi is running, and can also be used with other micro-controllers too.
They are available from 4Tronix and now also from CPC (Farnel).
More tips to supercharge your Raspberry Pi coming soon!