Breadboard & Components Hobby/Education Kit for Raspberry Pi (Chapter 6 Hardware Kit)

The mini breadboard kit includes some of the components used in Chapter 6 of my book, plus are ideal for a number of starter projects (traffic lights, RGB colour mixing, timed response challenge, memory game etc).
__________________
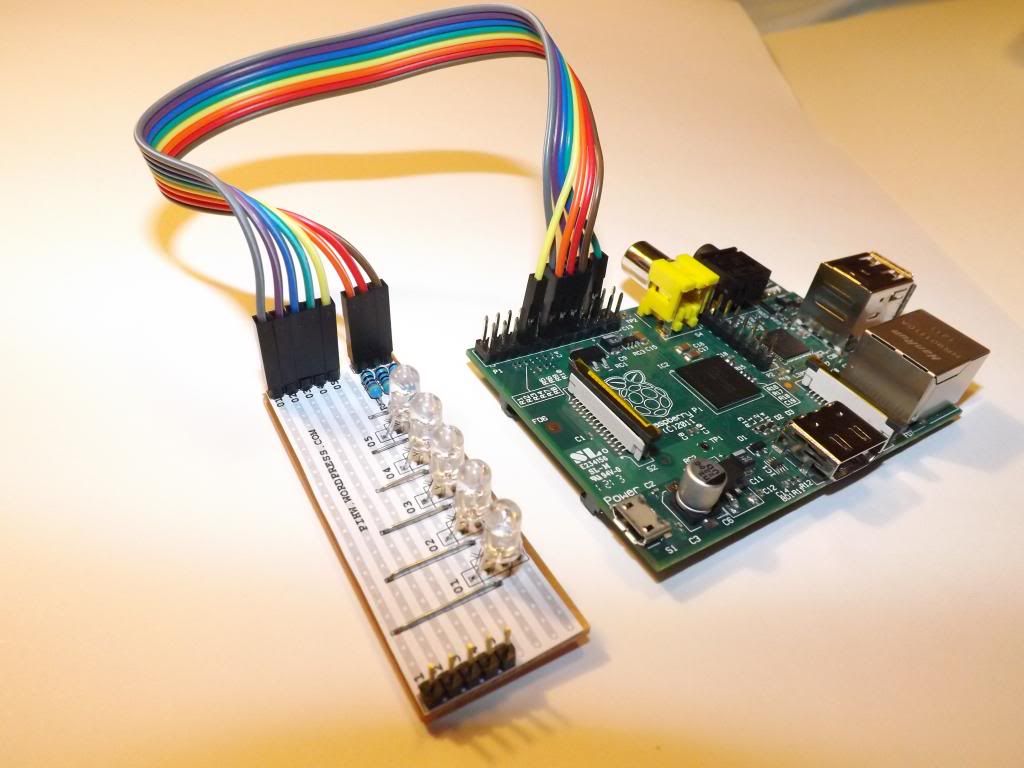
Mini-Breadboard Kit
The mini-breadboard kit includes all the components needed to complete several small hardware projects. This kit is intended to provide all the parts you need to complete the following recipes from my book:
- Controlling an LED
- Responding to a Button
- Controlled Shutdown Button
Add a Self-Solder Combo Kit
The Mini-Breadboard & Self-Solder Combo Kit contains everything to complete all the examples in Chapter 6 of the book, including two self-solder kits (the RGB-LED and D-Pad modules used in the more advanced recipes).

Mini-Breadboard & Self-Solder Combo Kit – For everything in Chapter 6
RGB-LED Kit B (Includes GPIO Cable)
Used in the following sections in Chapter 6 of the book:
- Multiplexed color LEDs
- There’s more… Hardware Multiplexing
- There’s more… Displaying random patterns
- There’s more… Mixing multiple colors
There are also lots of lessons already on the site for the RGB-LED kit
D-Pad / Game Controller Kit B (Includes GPIO Cable)
Used in the following sections in Chapter 6 of the book:
- The GPIO keypad input
- There’s more… Generating other key combinations
- There’s more… Emulating mouse events
- See also – Can also be used with the game examples created in Chapter 4
See the Breadboard & Components Kit (Ch6 Kit) product page for more details, or the Shop to purchase.
Note regarding the hardware in other chapters of the book:
I currently do not have plans to release kits for the other chapters 7, 8, 9 and 10. This is because these chapters mainly make use of existing hardware modules which are available to buy directly from other retailers. If I were to stock all of the modules used I would need to buy for them for the same price and then add extra (to cover my time, cost of stock etc etc). I would have to take an existing product, add a markup and sell it on. Unfortunately I don’t have the time and resources to do this cost effectively, therefore, it would not provide good value for money for people.
The book contains details on the places which stock the items, but let me know if you have difficulty getting a particular item so I can find an alternative and provide details on the website.